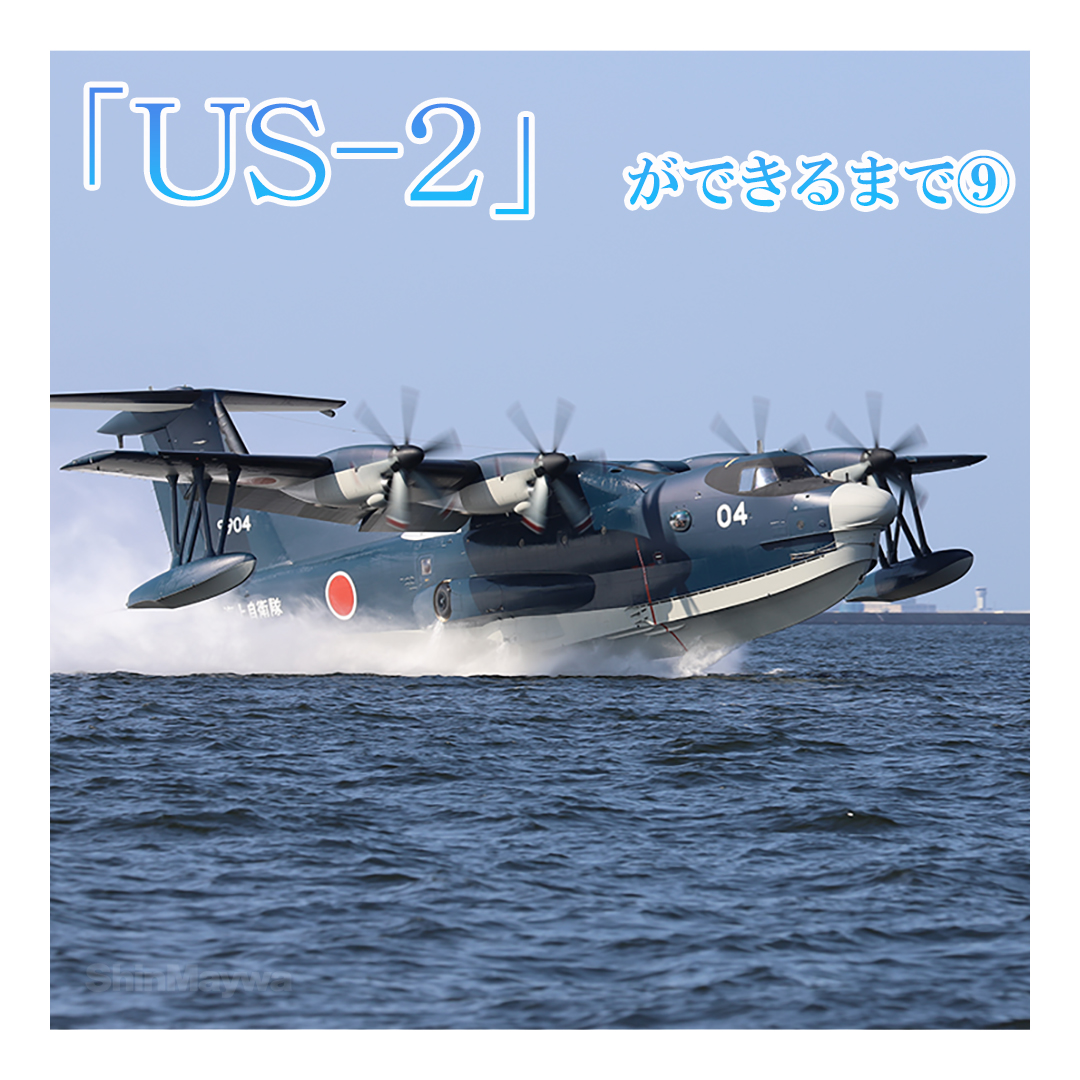
[Series] How the US-2 is made (9)
Close coverage by a professional writer
Attach a cover that reduces air and water resistance to the surface of the aircraft.
Last time, I told you how to attach the main wing.
This time, we will introduce the process of attaching a cover to the surface of the aircraft in order to reduce air resistance during flight and water resistance during hydroplaning.
Such a cover for rectifying the fuselage surface (adjusting the turbulence of the airflow) is generally called a "fairing." Last time, I mentioned that the main wings of the US-2 are placed on top of the fuselage. The weather radar cover on the nose (also called the radar dome = radome) and the cover protruding rearward from the top of the vertical stabilizer are also fairings.
Also, like the fairing, it is for rectification, and the bulge from the surface of the fuselage is called a "bulge". Originally, it was attached to the port side of the ship to increase buoyancy and stability (suppress tilt to the left and right), but it may also be installed in aircraft for storing wheels. The fuselage shape of the US-2 and its predecessor US-1A has not changed much from the flying boat PS-1, which was first mass-produced as a ShinMaywa Industries, but in the US-1A and US-2, the landing gear (gear = wheels and its struts) has been strengthened to enable takeoff and landing on the runway, and a bulge has been added to cover the enlarged gear.
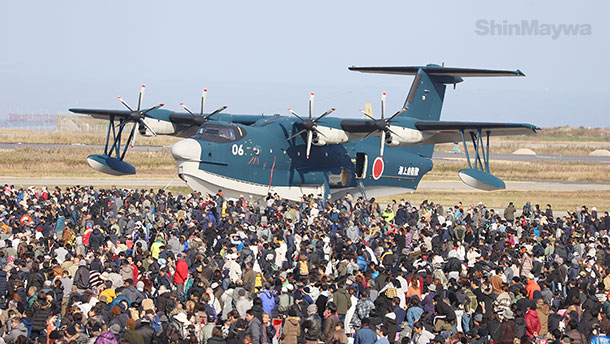
When the fairing and bulge are installed, the beautiful curvaceous beauty of the "US-2" comes into view. From here, in parallel with the installation of rotor blades and gears, work such as mounting equipment and wiring will proceed in the cabin.
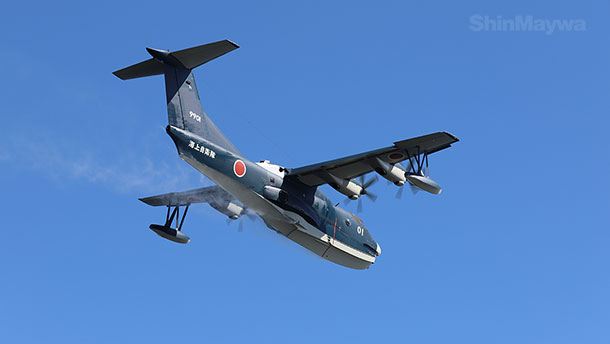
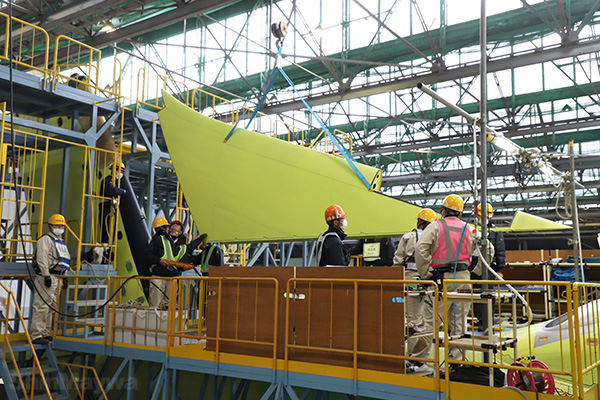
 (1) The "AFTfairing"eliminates the difference in level between the main wing and the fuselage, smoothing the airflow over the fuselage surface.
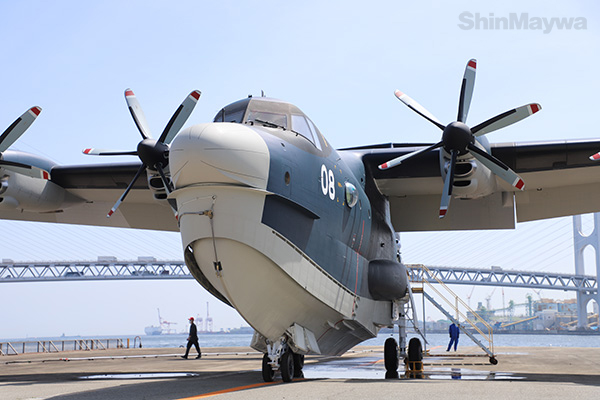 (2) The bulge that covers the main gear (main wheel) is a bulge to reduce air resistance during flight.
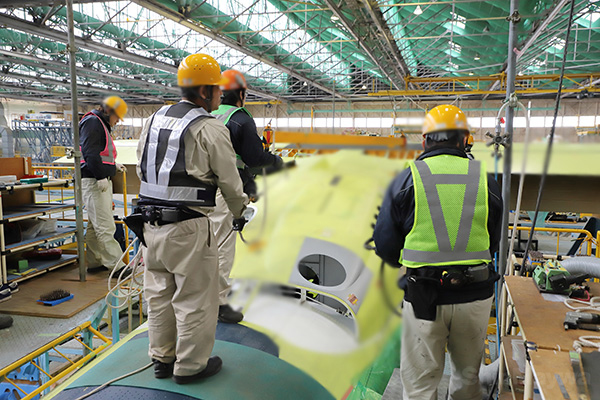
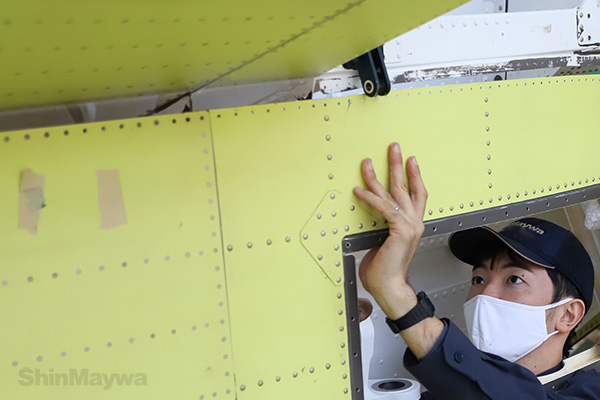 (3) This is also a kind of block construction method. The bulge made in advance is brought into close contact with the fuselage and fastened with pins (the worker wears a head protector inside the hat).
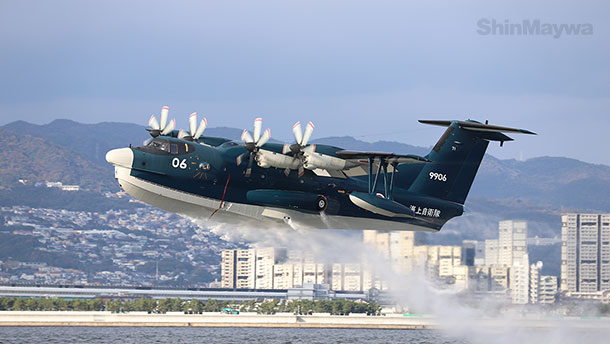
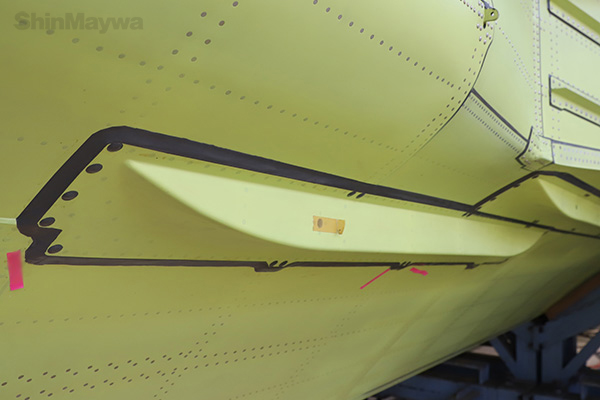 (4) The fin "spray strip" on the bottom of the boat is also retrofitted. It is said that it has the function of suppressing splashes during takeoff and landing.
 (5) A "dorsal fin" that is attached between the fuselage and the vertical stabilizer to smooth out the air flow.
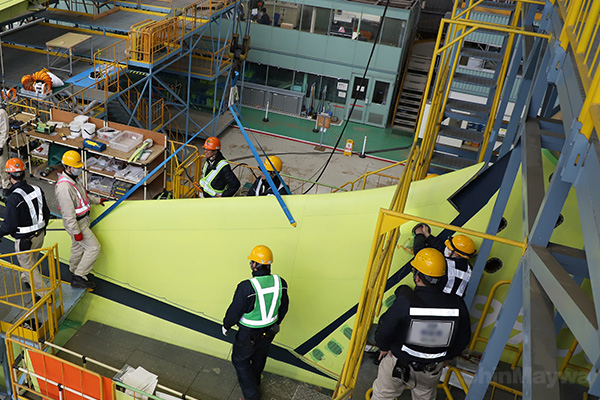 (6) Because it is a cover for rectification, its structural strength is low.
Writer Hidenori Itakura
- * The copyright for this series belongs to ShinMaywa Industries, Ltd. Please refrain from reusing the content, images, or any part thereof for any other purpose without our permission.